In my previous post I talked about using a motor, a cam, and a switch to fire a solenoid. That just wasn’t going to work because it was too hard to get the right pace of the solenoid firing. The motor voltage changed its speed, and it was too difficult to adjust the cam shape and to fire the solenoid properly.
In this post I’m showing how I used the Arduino Nano to control the firing rate of the solenoid instead of a rotating cam. With the Arduino, it’s a 30-second program change to adjust the rate of the solenoid firing as opposed to the ridiculously difficult process with motor and cams.
The video below shows the solenoid firing once per second by using the default settings in the sample ‘Blink’ program that is included with the Arduino. Then I made a simple program change in the Arduino to speed up the solenoid. This is soooo much easier than cams and motors!
Trying to find a way to mount things like motors, solenoids and switches is often a big challenge. Trying to find the right bracket, the right screws, and the right locations for those items in your experimental projects can be tough.
So I thought I’d show a few tips and tricks that I use.
First, my goal: I was trying to set up a little solenoid to bang against a miniature box to make a ‘chattering’ effect for a mini ‘monster in a box’ project, kind of like this Halloween monster in a box video (fast forward to about 1 min, 25 seconds to see the box chatter).
I started by experimenting with a little hobby motor. It wasn’t powerful enough to attach a cam straight away to rattle the box on its own so I had to find gears or levers, or something, to get some mechanical advantage.
The box in the video uses a cam attached to an electric drill, but I wanted something much smaller for my little project.
I started out using a cam to trigger a micro switch, which would energize a solenoid in rapid succession. (See my next post to see the solenoid fire.)
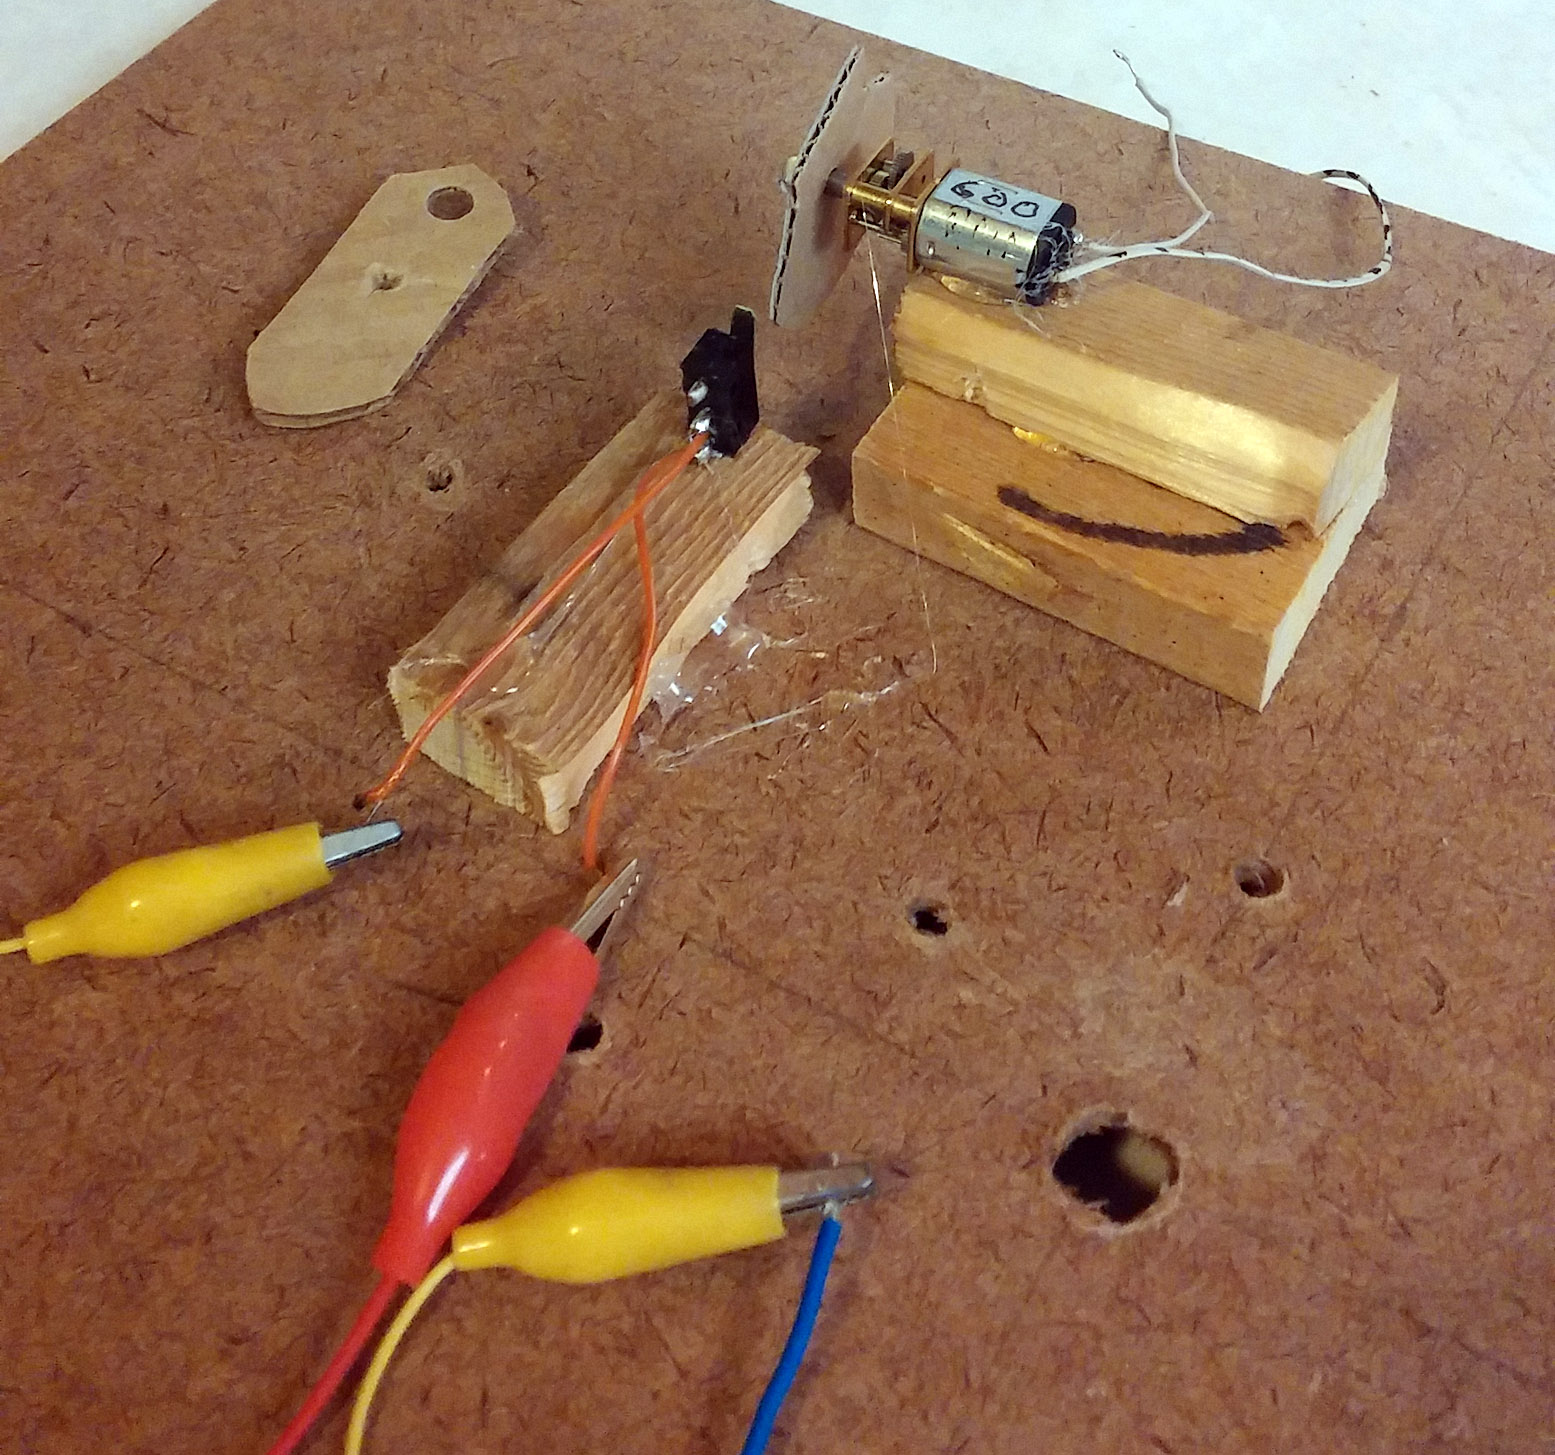
Instead of trying to find the right size and shape of a motor mount for my initial testing of things, I just used hot glue to secure some little blocks of wood to my test base (a 12″ square piece of press board). Then I put a little dab of hot glue on the motor and on the micro switch to secure them to the proper height of wood blocks.
Click on the photos to see larger versions.
Using blocks of wood is a fantastically simple way to make the right heights and locations. I was able to put away my box of sheet metal, tin snips, and other miscellaneous hard-to-use metal mounting hardware!
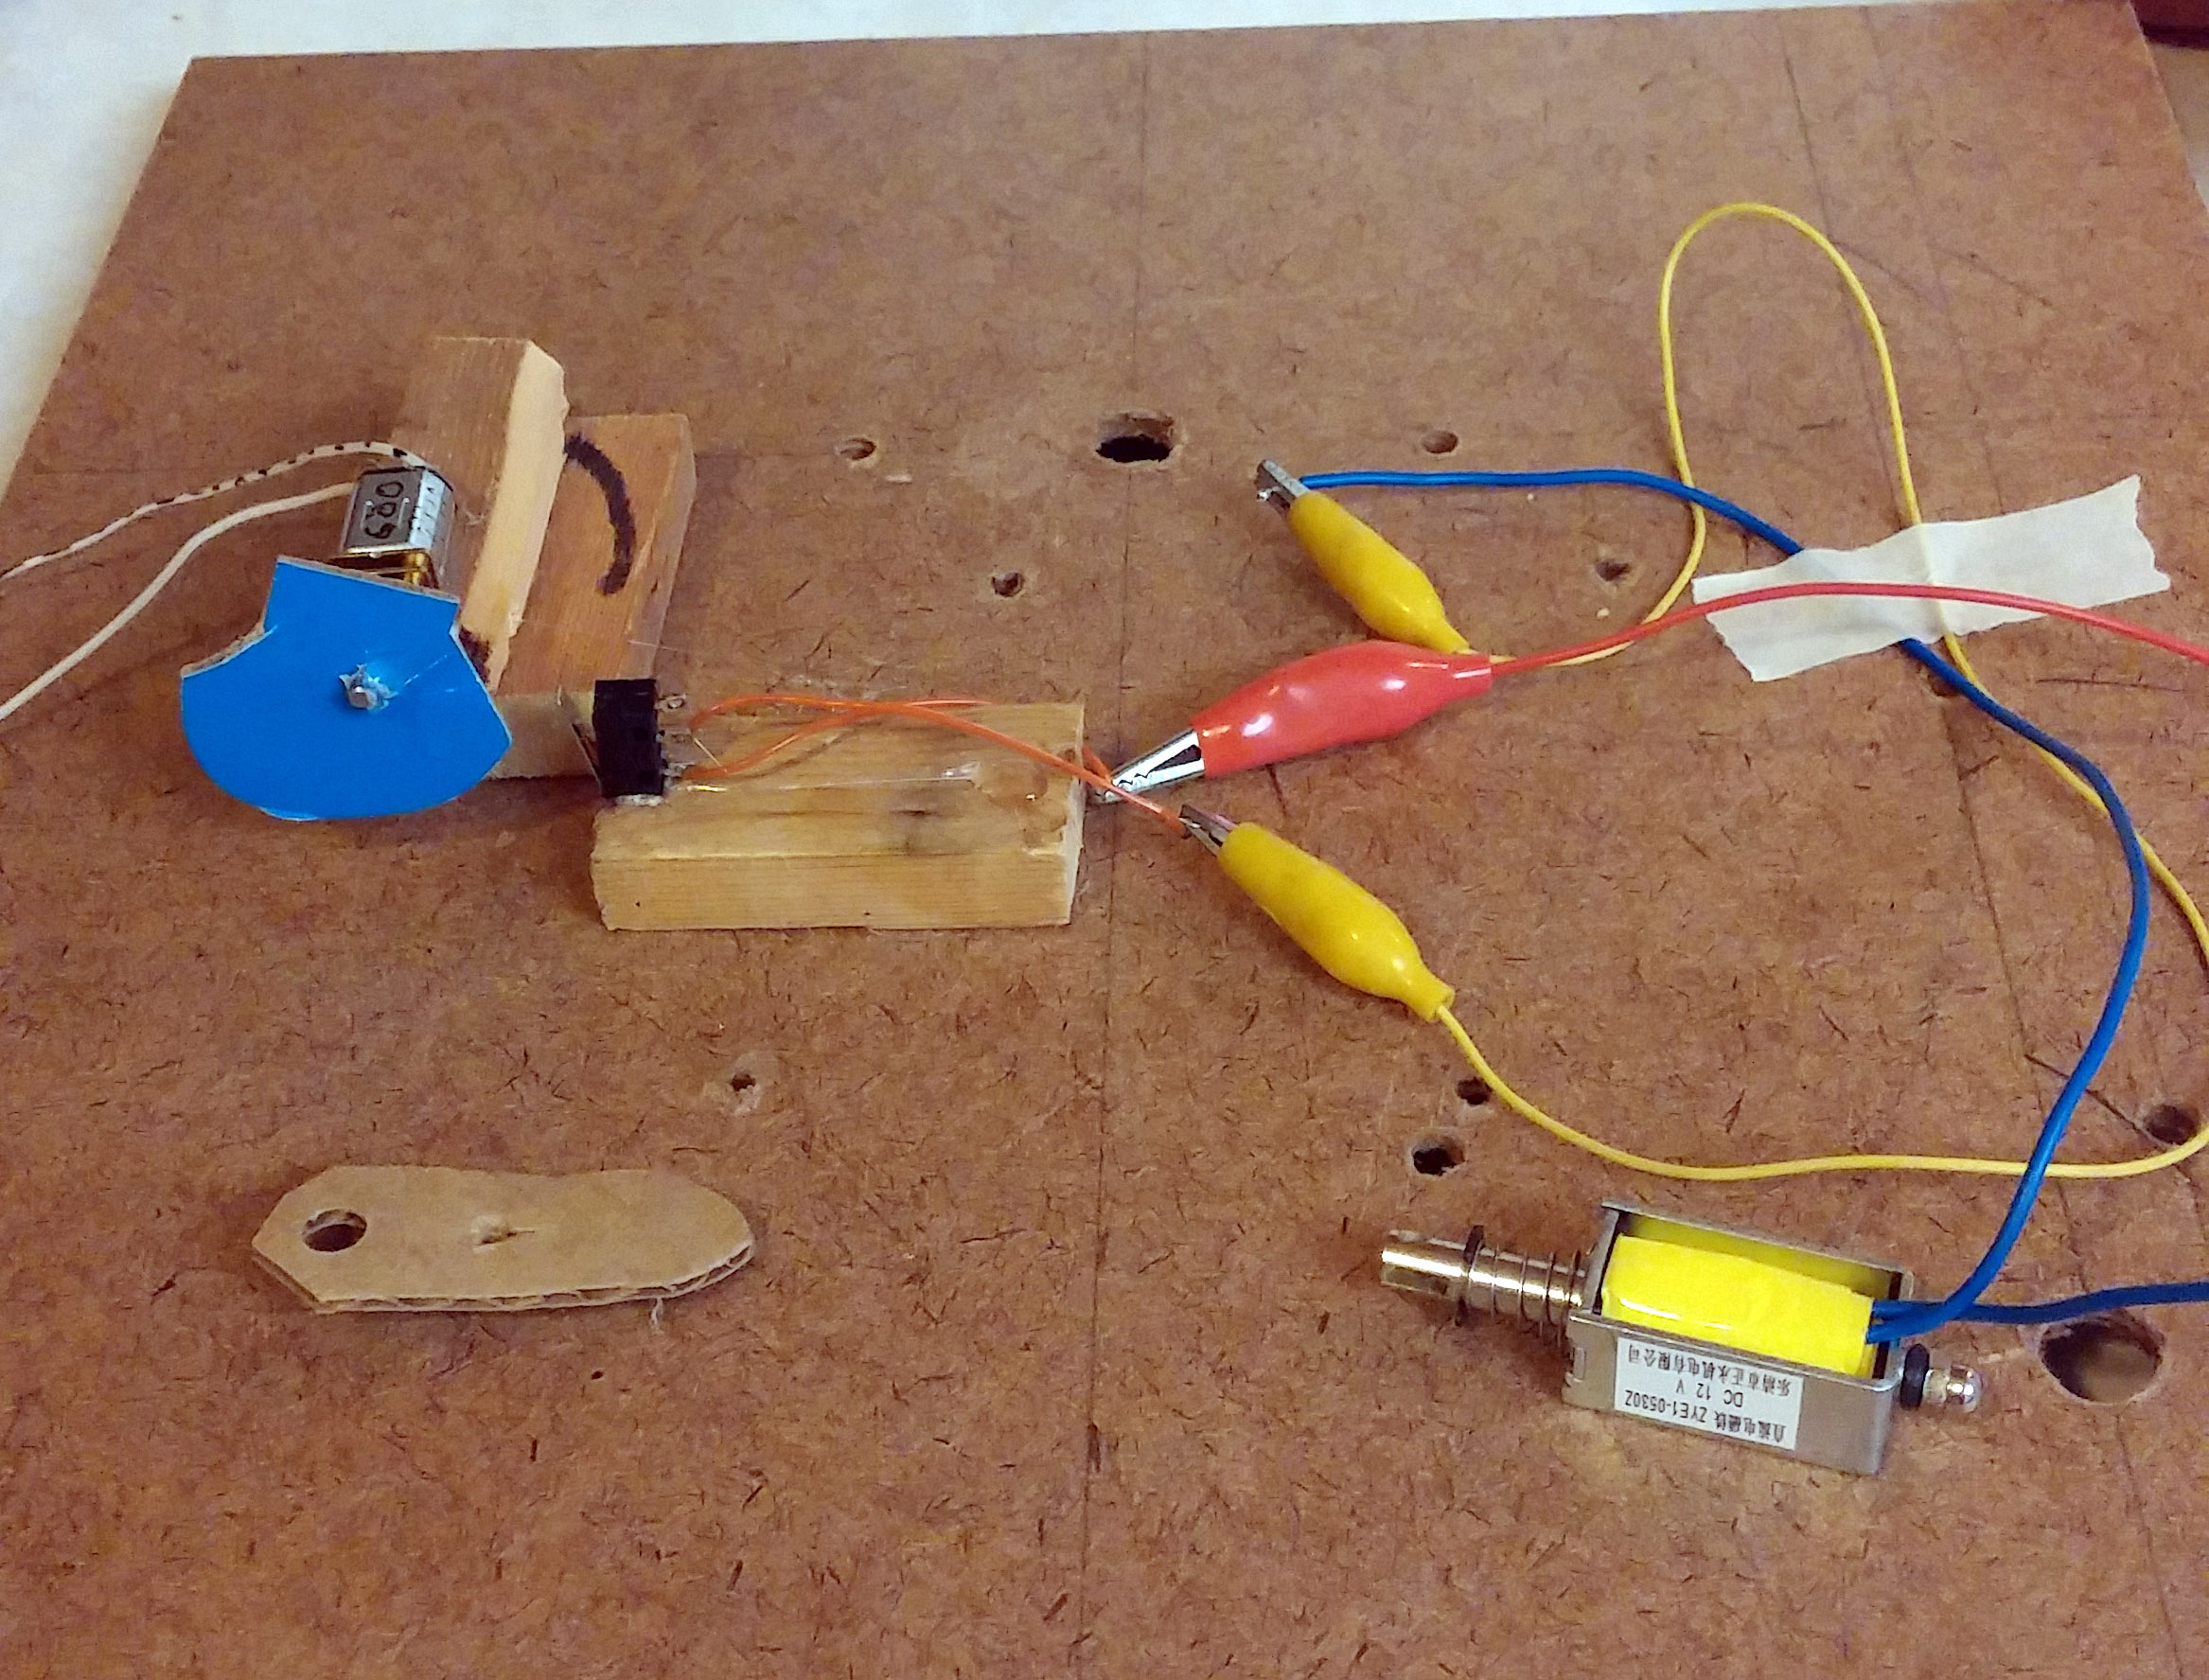
You can see my little blue cam that I also used hot glue for. I glued it to the motor shaft for a temporary attachment. Hitting the switch with the first cam — the brown pointy one you can see laying there — didn’t keep the switch activated long enough to fire the solenoid properly so I made the blue cam that kept the switch activated for about 5 times as long.The hot glue made it very easy to swap cams and re-glue.
The motor rotates at 300 to 600 RPM depending on the voltage applied (3 to 6 volts). That was way too fast with either cam, so I had to find another solution (see my post about using the Arduino instead of a motor). But the mounting techniques of wood blocks and hot glue have been a big headache-reliever for me over trying to find or fabricate metal mounts.