The L298N H-bridge motor controller module basics

Get an L298N module at Amazon

Oh boy, was I confused about this module at first! I found a fair amount of bits and pieces about it, but could not find the complete info that I was looking for. So I decided to create this tutorial for others who want to understand it better. I’m not an expert, but I have figured it out well enough to make what I think is a very clear and complete basic ‘primer’ on this device. Whether it’s right for your project is up to you to determine, but here’s info about the module itself, and especially about the mysterious jumpers (at least they were the biggest mystery to me).

You can see the data sheet on the ST website here: http://www.st.com/en/motor-drivers/l298.html .

You could just purchase the chip and component parts and wire up your own parts, but this complete module is probably cheaper than the combined parts, and it’s certainly more convenient. As of January, 2017, the modules are selling on ebay for under $2.00! At this price they’re from China of course, but you can purchase them at higher prices in the United States if you can’t wait for the long shipping times from China.

I’ve read in forums that the L298 chip is about 15 or 20 years old, so there are better(?) chips available now. People seem to like the Pololu A4988 https://www.pololu.com/product/1182 .  Stepper motor current limiting is apparently one of the big improvements, but none of the current-limiting chips come in this neat module format that I’m aware of. So this L298N module is fun and handy, certainly great for testing and little projects, but be careful if you need current-limiting features when driving stepper motors.

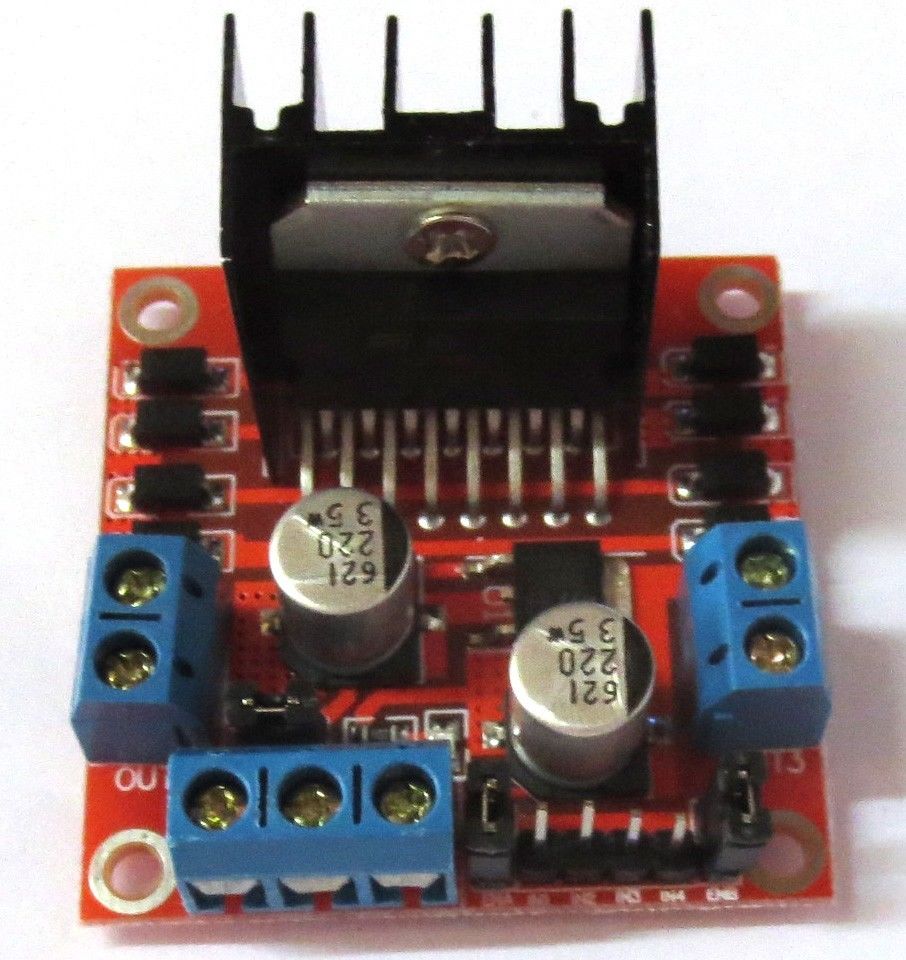
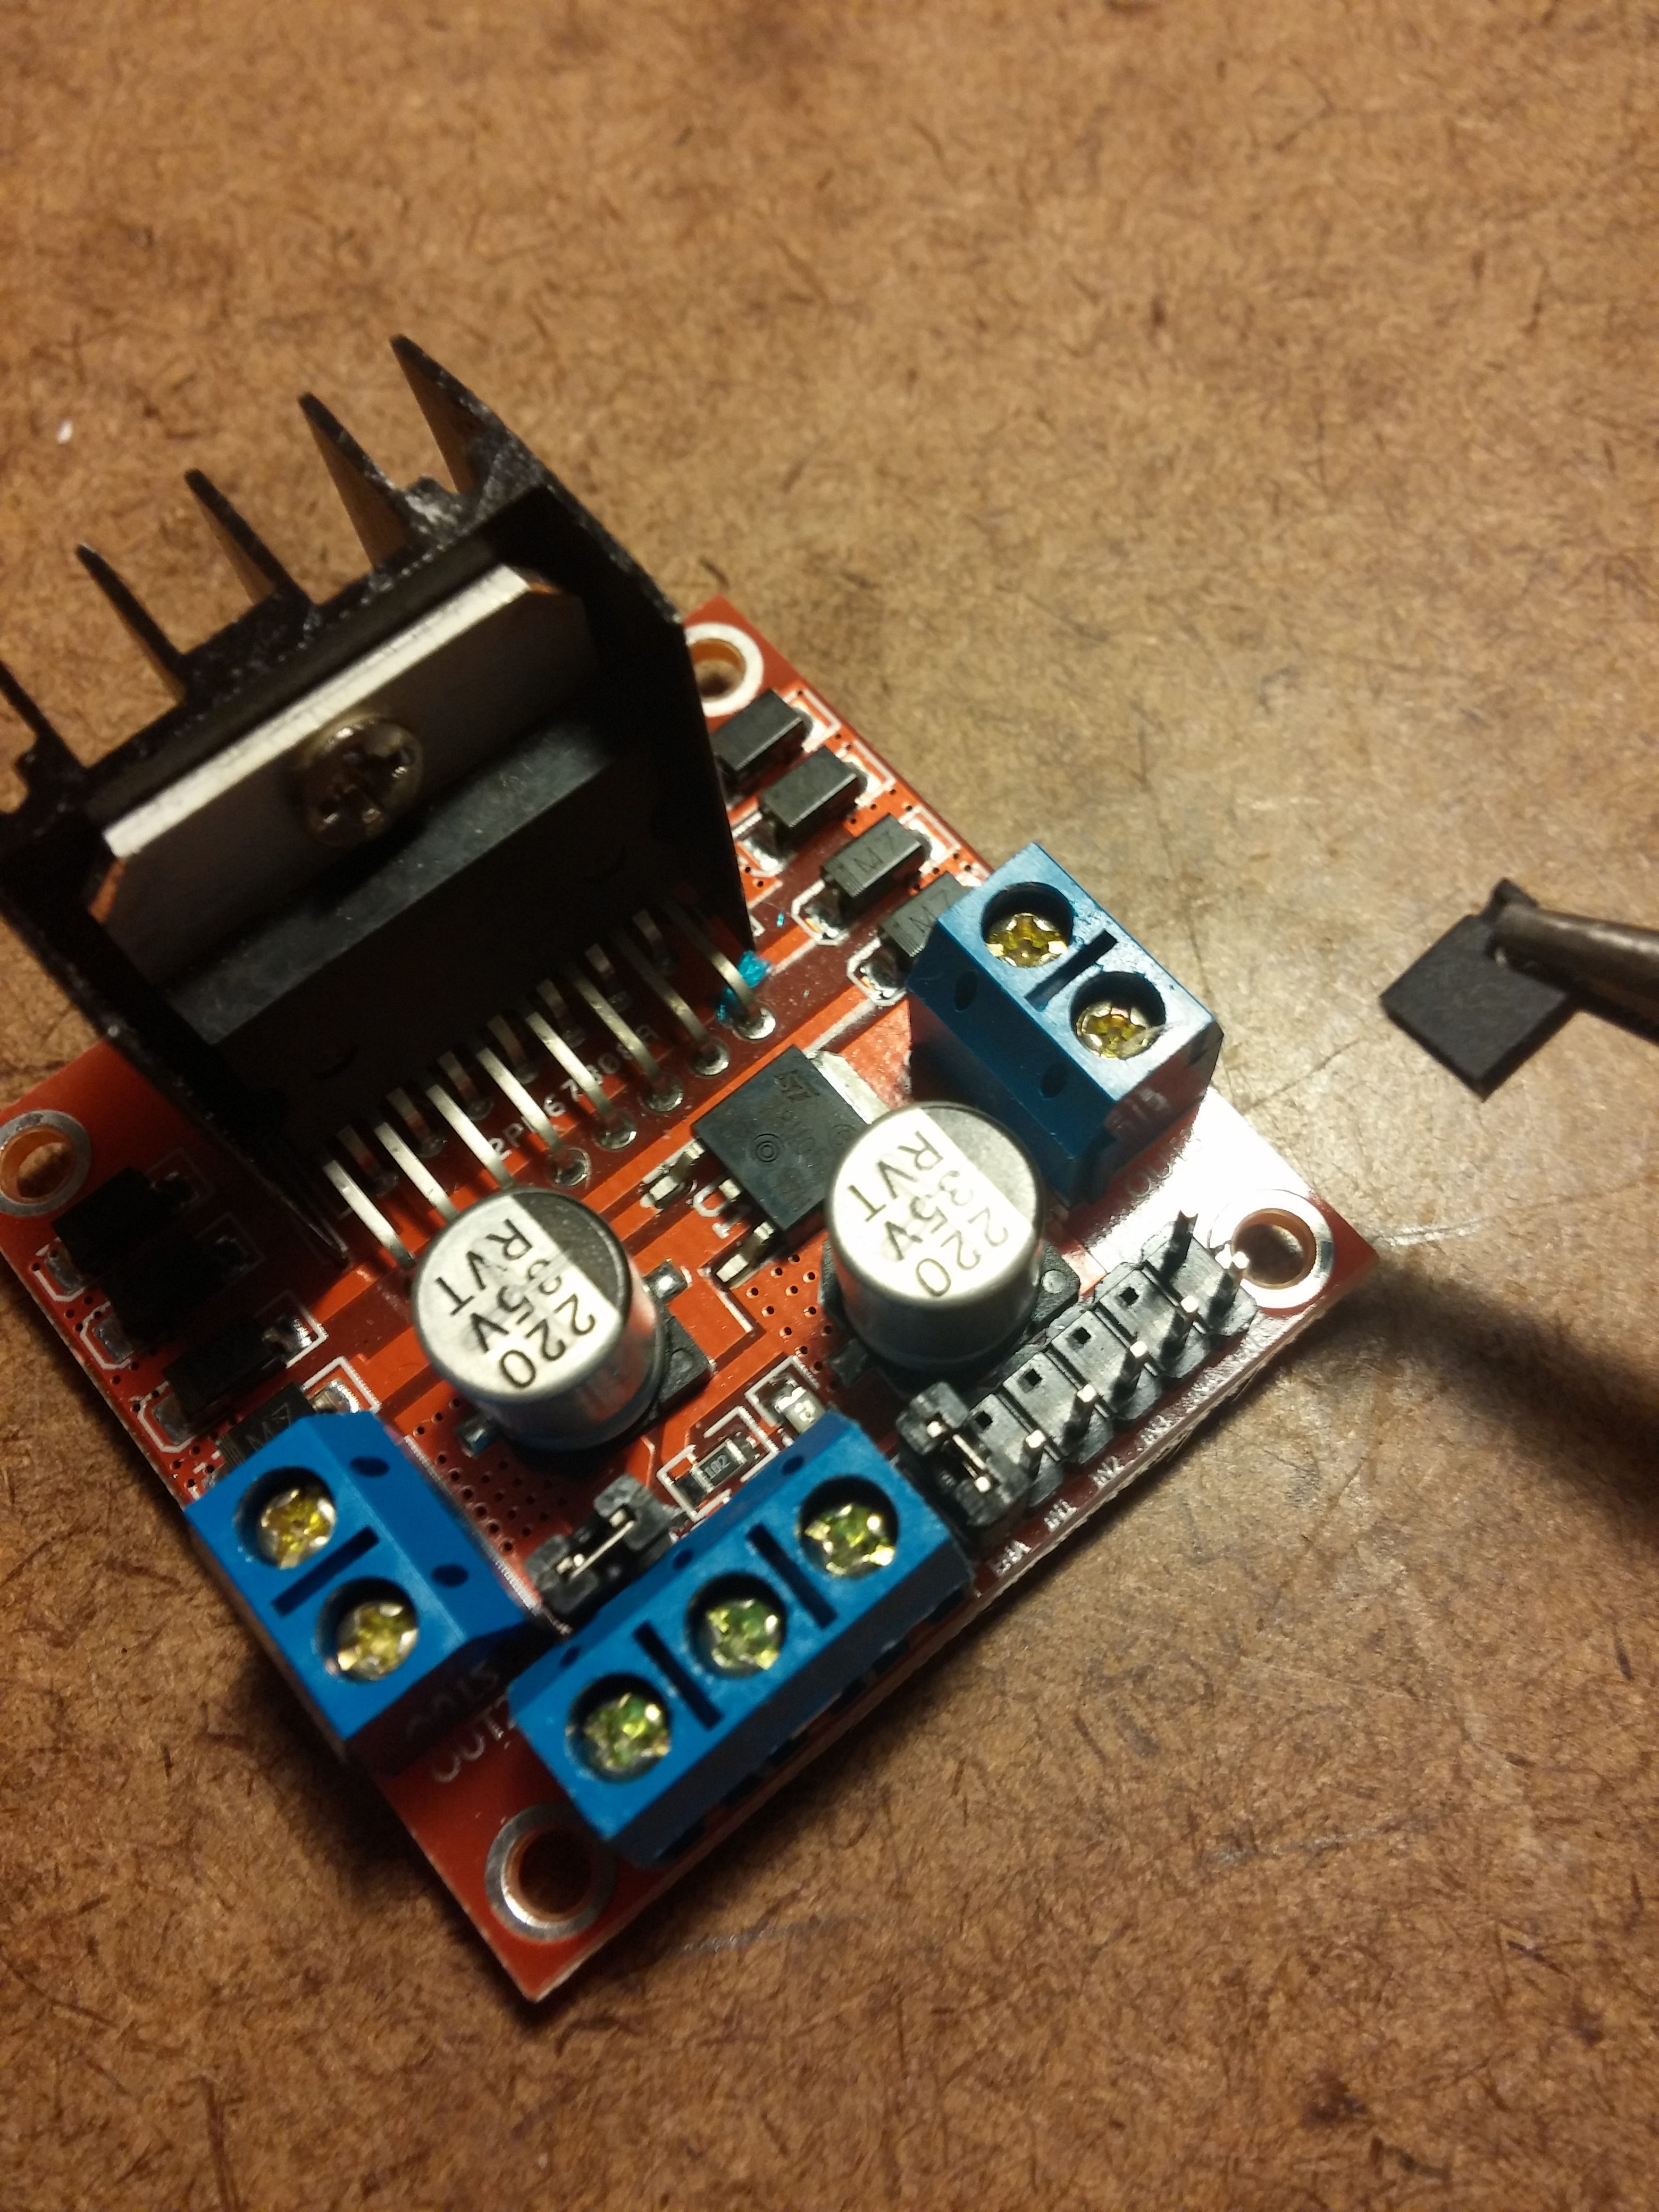
You can see the Input (IN) pins clearly, and here is a photo of the enable pins with me removing the jumper block. Click the photo to see a larger version.

L298N Truth Table

Get an L298N module at Amazon


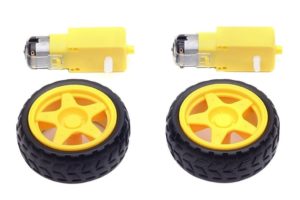
Get fun motors with robot wheels.
A tremendous buy!


Get an L298N module at Amazon

Arduino Nano Prep

You can get quite a variety of Arduinos. My favorite is the Nano. Here’s how I get them ready for my projects.

Here’s a source for breadboards on Amazon: http://Amazon: http://amzn.to/2CHpeLK

You can get a set of 3 Arduino Nanos here: http://amzn.to/2mbrbsG .  You’re going to want more than one for more projects, and you’ll probably accidentally destroy one or two of them by connecting the wrong wires, applying too high of voltage, etc.

You can’t beat the price of these Chinese clones, but know that you will need to solder the headers on,  and you may need to download a driver for these Chinese clone boards. See how I do that in my video here: http://mechatronicsworkshop.com/index.php/2017/12/14/arduino-nano-prep/

You can purchase clones with the headers already soldered on if you search for them. Be careful buying clones — these appear to come from a warehouse in the U.S. so shipping is quite fast to the U.S.  But be careful that you don’t buy them from  a supplier who ships from China unless you or ok waiting for three to four weeks to get them delivered.

If you want to pay more and have the headers soldered on and no need to download a driver, go to the Arduino.cc site and purchase the original boards there.

How to Make a Rotating Head

Here’s a short video showing how to make a simple rotating head. It’s a silly little project, but it’s fun and it’s easy. If you’ve got kids interested in this stuff, it’s a great project to do with them. Or use it yourself to learn how to create and use a prototyping box of some kind (cardboard, plastic, metal), mounting and wiring a motor, and so on.

Maybe just be happy that you built a cute little toy — or get more sophisticated with the idea. You could cover the box completely with black and maybe mount and shine a little LED spotlight on the rotating head for a scary Halloween prop! (Similar to the LED spotlight on my swaying spider project. You could even add a motion-sensing switch to have it start when somebody comes near it.

You could expand on this even more and learn how to use an Arduino and a motor controller to make the head spin in both directions, or add a sound card and speaker to add some peculiar sounds!


Click the photos below to get the parts mentioned in the video.

Digital Calipers

A digital caliper is a great tool to have around for all kinds of measurements. An example of how I use the caliper: When I want to use LEDs in one of my projects, I like to find a drill bit just a little smaller than the LED without drilling a bunch of trial and error holes. That way the LED will be a nice pressure-fit in the hole and won’t need to be glued into a hole that is oversized.

Here are some at Amazon: http://amzn.to/2BR4MZ0

See much more on calipers in my blog here.

Arduino project with blinking button, siren and LEDs

A fun little project idea that tempts potential ‘victims’ with a blinking button that says, “Do NOT Press This Button!” When pressed, it sets off a siren and blinking LEDs. Let’s see who can resist!

I think it’s better to hide the cable that connects the button to the LED box. I just used what I had handy to cover the cable — two Christmas toys I had nearby. I would use something more appropriate if this was going to be anything more than a quick test setup. Wireless would be the best… maybe next time.

If you’re an Arduino fan, here’s a little side note about the LEDs. It was necessary to blink the LEDs using millis instead of delay so the button LED, the siren, and the different blink rates of the LEDs all worked at the same time.