The L298N H-bridge motor controller module basics

Get an L298N module at Amazon

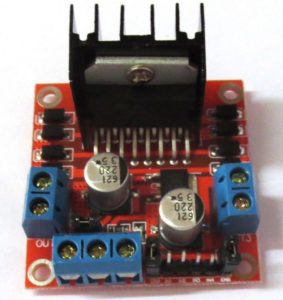
Oh boy, was I confused about this module at first! I found a fair amount of bits and pieces about it, but could not find the complete info that I was looking for. So I decided to create this tutorial for others who want to understand it better. I’m not an expert, but I have figured it out well enough to make what I think is a very clear and complete basic ‘primer’ on this device. Whether it’s right for your project is up to you to determine, but here’s info about the module itself, and especially about the mysterious jumpers (at least they were the biggest mystery to me).

You can see the data sheet on the ST website here: http://www.st.com/en/motor-drivers/l298.html .

You could just purchase the chip and component parts and wire up your own parts, but this complete module is probably cheaper than the combined parts, and it’s certainly more convenient. As of January, 2017, the modules are selling on ebay for under $2.00! At this price they’re from China of course, but you can purchase them at higher prices in the United States if you can’t wait for the long shipping times from China.

I’ve read in forums that the L298 chip is about 15 or 20 years old, so there are better(?) chips available now. People seem to like the Pololu A4988 https://www.pololu.com/product/1182 .  Stepper motor current limiting is apparently one of the big improvements, but none of the current-limiting chips come in this neat module format that I’m aware of. So this L298N module is fun and handy, certainly great for testing and little projects, but be careful if you need current-limiting features when driving stepper motors.

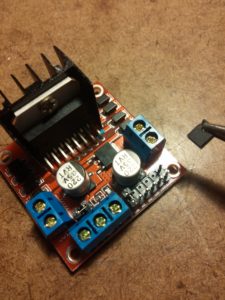
You can see the Input (IN) pins clearly, and here is a photo of the enable pins with me removing the jumper block. Click the photo to see a larger version.
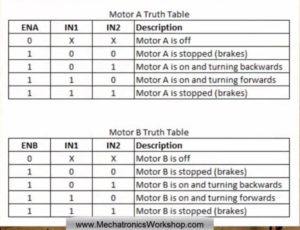
L298N Truth Table

Get an L298N module at Amazon


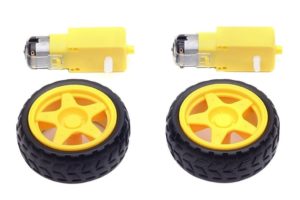
Get fun motors with robot wheels.
A tremendous buy!


Get an L298N module at Amazon

Ways to Lift Lids (as in opening coffin lids for Halloween props)

I thought I would offer some ideas on different ways to open box lids. My main motivation has been finding a good way for lifting the lid of small Halloween coffin props, but the techniques can be used for many other applications as well.

I love to play around making these things as a hobby, but I need to make smaller versions of these because I don’t have enough room for full-sized ones. Here’s an example of a nice full-sized one by MrTmartindale on YouTube.

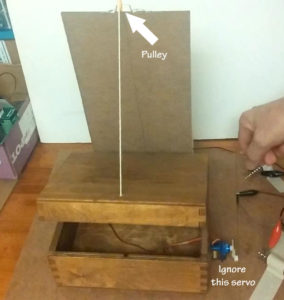
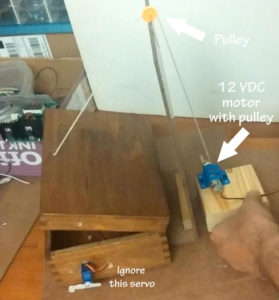
Seeing as I was recently playing around with pulleys I thought I would start with probably the most basic way to lift a lid — with a string!

open2a            open3a

There are a lot of potential problems with this arrangement:

It’s visible.

You need to reverse the polarity on the motor for up and down directions.

It takes up a lot of space.

It needs a lot of parts: string, string pulley, pulley support, motor, motor pulley, motor mount, and some way to reverse the motor direction.

More ideas and videos coming soon…

Using Arduino Nano and a relay to fire a solenoid

In my previous post I talked about using a motor, a cam, and a switch to fire a solenoid. That just wasn’t going to work because it was too hard to get the right pace of the solenoid firing. The motor voltage changed its speed, and it was too difficult to adjust the cam shape and to fire the solenoid properly.

In this post I’m showing how I used the Arduino Nano to control the firing rate of the solenoid instead of a rotating cam. With the Arduino, it’s a 30-second program change to adjust the rate of the solenoid firing as opposed to the ridiculously difficult process with motor and cams.

The video below shows the solenoid firing once per second by using the default settings in the sample ‘Blink’ program that is included with the Arduino. Then I made a simple program change in the Arduino to speed up the solenoid. This is soooo much easier than cams and motors!

Some motor and switch mounting ideas

Trying to find a way to mount things like motors, solenoids and switches is often a big challenge. Trying to find the right bracket, the right screws, and the right locations for those items in your experimental projects can be tough.

So I thought I’d show a few tips and tricks that I use.

First, my goal: I was trying to set up a little solenoid to bang against a miniature box to make a ‘chattering’ effect for a mini ‘monster in a box’ project, kind of like this Halloween monster in a box video (fast forward to about 1 min, 25 seconds to see the box chatter).

I started by experimenting with a little hobby motor. It wasn’t powerful enough to attach a cam straight away to rattle the box on its own so I had to find gears or levers, or something, to get some mechanical advantage.

The box in the video uses a cam attached to an electric drill, but I wanted something much smaller for my little project.

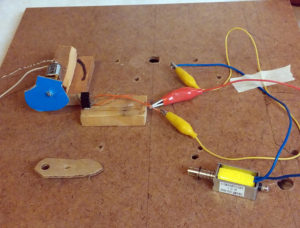
I started out using a cam to trigger a micro switch, which would energize a solenoid in rapid succession. (See my next post to see the solenoid fire.)

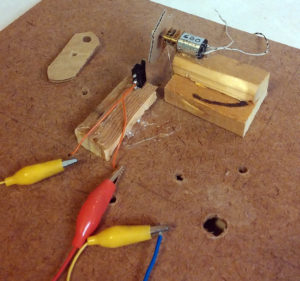
Instead of trying to find the right size and shape of a motor mount for my initial testing of things, I just used hot glue to secure some little blocks of wood to my test base (a 12″ square piece of press board). Then I put a little dab of hot glue on the motor and on the micro switch to secure them to the proper height of wood blocks.

Click on the photos to see larger versions.

50b-2

Using blocks of wood is a fantastically simple way to make the right heights and locations. I was able to put away my box of sheet metal, tin snips, and other miscellaneous hard-to-use metal mounting hardware!

You can see my little blue cam that I also used hot glue for. I glued it to the motor shaft for a temporary attachment. Hitting the switch with the first cam — the brown pointy one you can see laying there — didn’t keep the switch activated long enough to fire the solenoid properly so I made the blue cam that kept the switch activated for about 5 times as long.The hot glue made it very easy to swap cams and re-glue.

The motor rotates at 300 to 600 RPM depending on the voltage applied (3 to 6 volts). That was way too fast with either cam, so I had to find another solution (see my post about using the Arduino instead of a motor). But the mounting techniques of wood blocks and hot glue have been a big headache-reliever for me over trying to find or fabricate metal mounts.

50-1


Save

Save

Save

Save

Save

Save

Save

Save

Save

Save

Finding motors to use in your hobby projects

Of course you can purchase motors online, but you can get them for a much reduced price (usually) if you’re lucky enough to have thrift stores in your area like the Goodwill. As an extra bonus, you can often scavenge things from your thrift store purchases that are worth more than what you paid for the item.

For instance, I often scavenge switches, power adapters, batteries, connectors, speakers, magnets, LEDs, etc. from toys and tools I get at the thrift stores.

But let’s get back to drills for sources of motors. Doing that can work great, but I found a few pitfalls that you might want to watch out for.

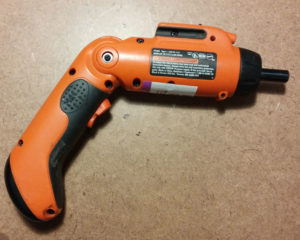
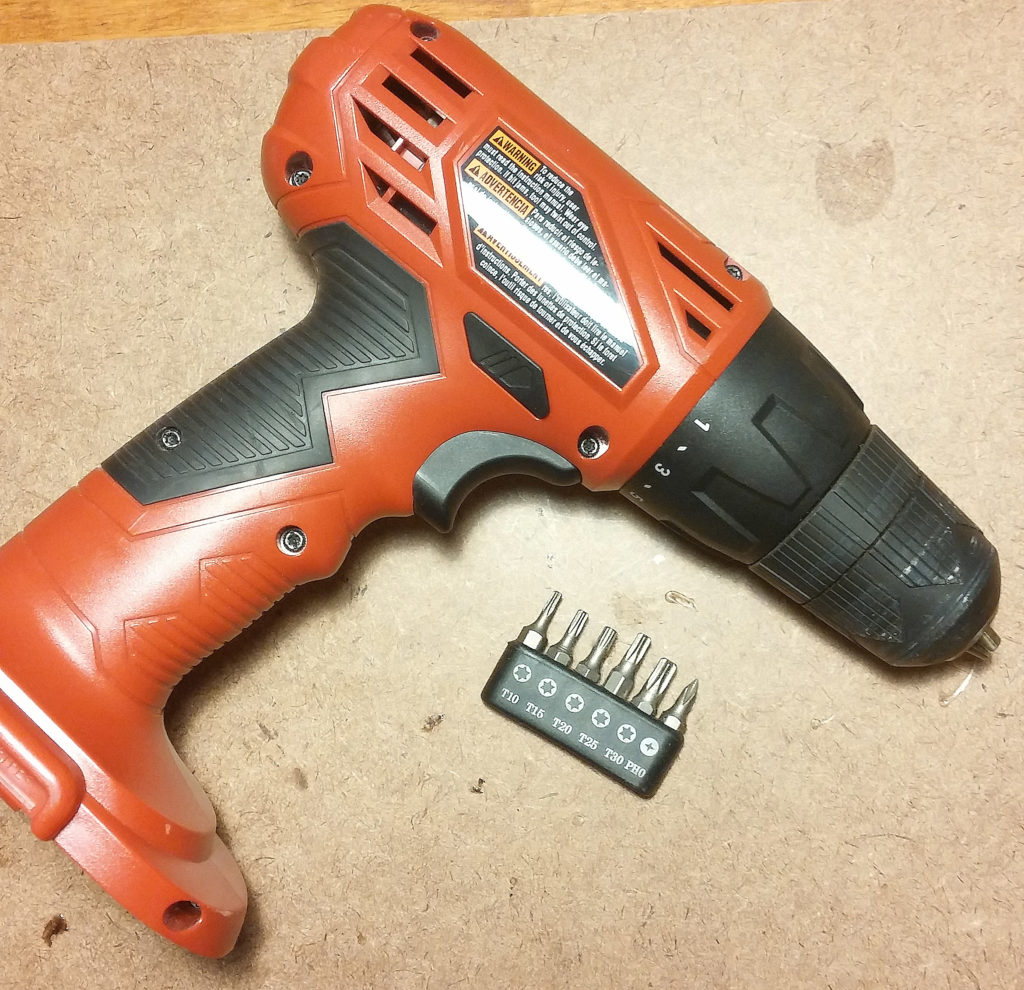
Here is a cordless drill like one that I scored from the Goodwill for $4.99. I though it was a great price for a strong, low voltage, dc motor. I was wrong.

0821161917 cropped-5

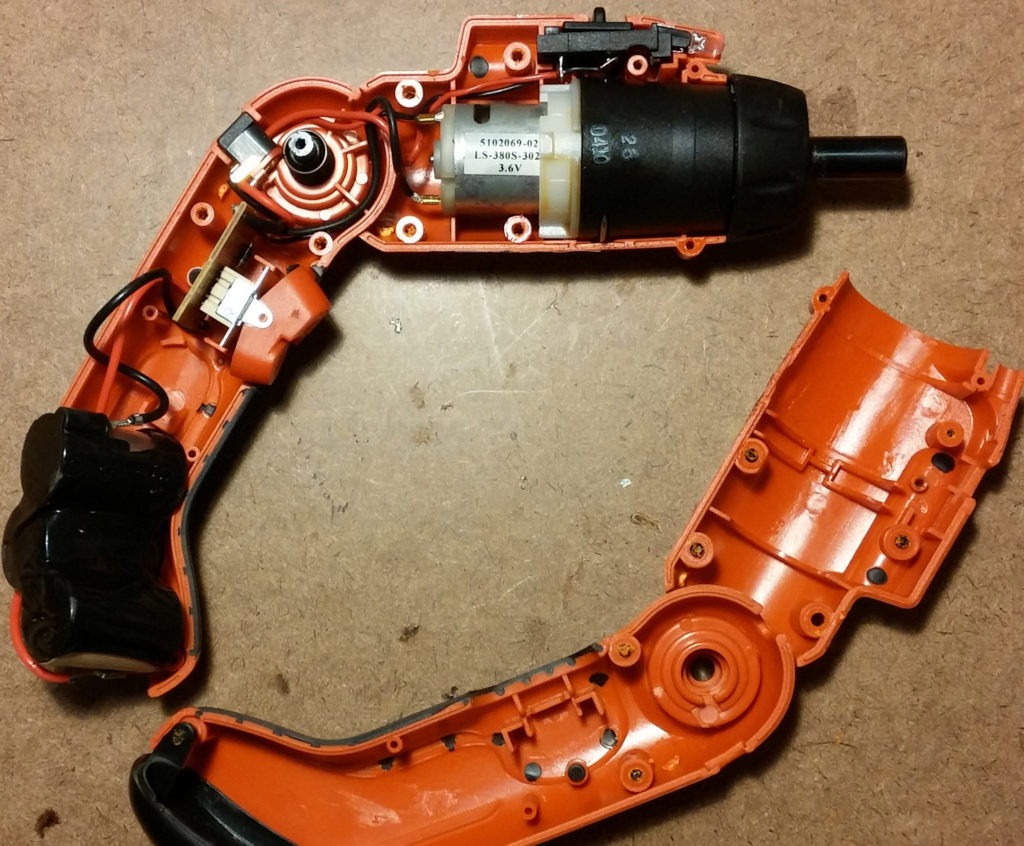
It had a charger with it that I thought would be worth the price of the drill alone. But to my surprise, its output was 3.6 VAC — that’s AC folks. And you don’t usually want an ac power brick for most of your projects. So that wasn’t the great advantage I thought it was going to be. But I did get the motor out of it. More on that in a minute.

And then I found another cordless drill that did not have a charger with it, but it stated on its label that it required a DC charger. So I bought it partially for the motor and partially to take it apart to see if it different guts than the AC-charged other one.

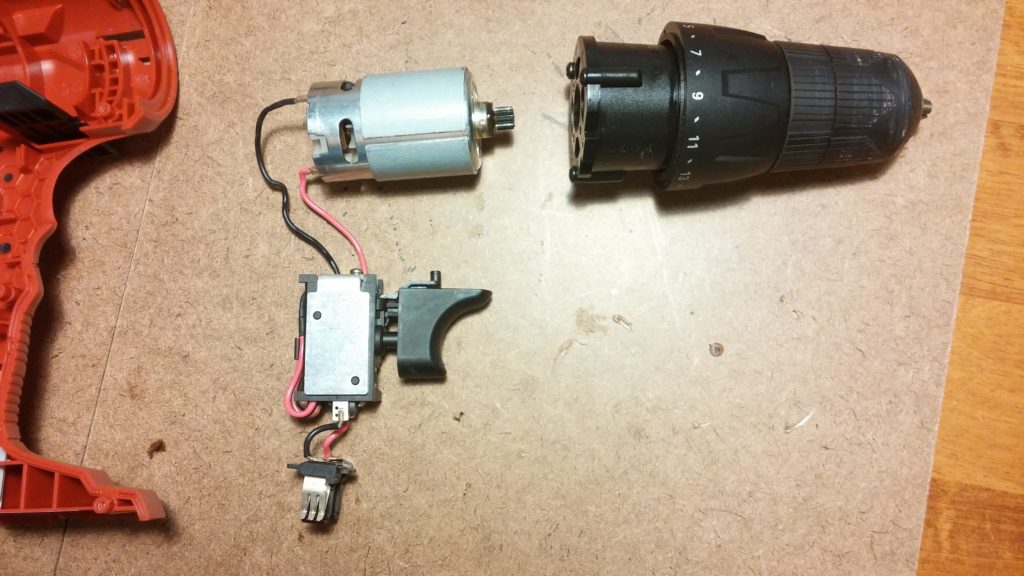
But neither one is that great because I think the motors require too much current. At least my little 500 milli amp power supply won’t run them.

You might need a torx screwdriver to get these apart. I had some bits which worked great for most screws.

0821162012

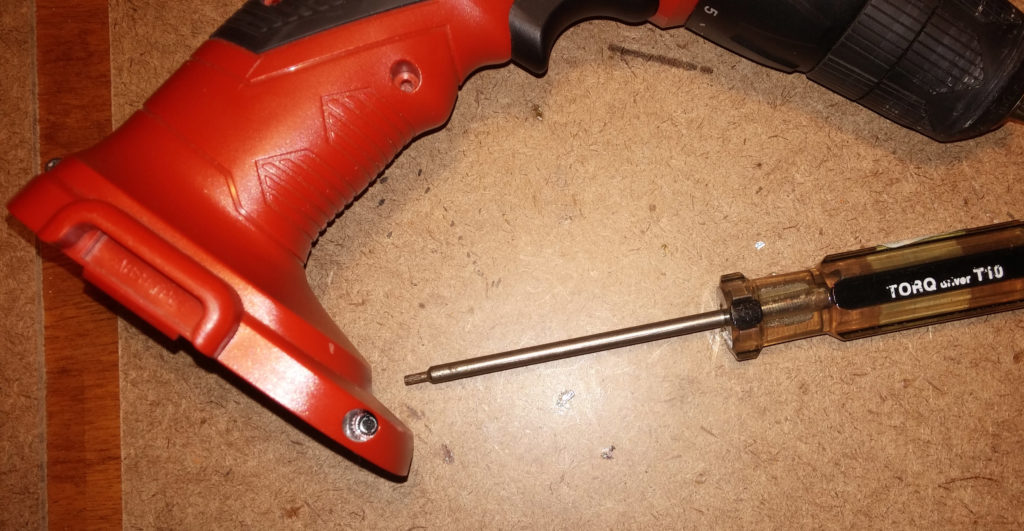
But one screw was too deep so luckily I had a torx screwdriver. The most common size is a #10.

0821162019

0821161922

0821162023

I think it’s better to go for the 12 volt cordless drills — they require 1 to 3 amps but you can get power supplies that will supply that current easier than you can find 3 volt supplies for the smaller cordless drills that will supply amps of current.


Save

Save

Save

Save

Save

Save

Save

Save

Save

Save

Save

Save

Save